
TL;DR
Open a free Amazon Business account
Business pricing, bulk buying and tax-exempt orders.
Create a free accountAs an affiliate, we earn on qualifying purchases.
Swapping out an old sprinkler controller is easier than you think. Focus on turning off power, labeling wires, and following a simple wiring plan. Upgrading to a smart controller boosts water efficiency and control from anywhere.
Imagine this: you’re tired of running your sprinkler system manually or dealing with unpredictable watering. A new controller can change that, turning your yard into a lush, healthy oasis with minimal fuss. But how do you actually make the switch?
Replacing an old sprinkler controller isn’t just about unplugging one device and plugging in another. It’s about understanding your system, preparing carefully, and following a clear process. In this guide, you’ll learn exactly how to do it step by step, with tips that save time and prevent headaches.
Label all wires before disconnecting to simplify wiring the new controller.
Choose a smart controller with weather features to save water and automate watering.
Turn off power at the breaker before working on wiring to stay safe.
Double-check wiring connections and test each zone after installation.
Upgrading to a new controller can cut water bills by up to 30% with proper setup.
Know What You’re Up Against — Assess Your Current System
The first step is understanding your existing setup. Look at your current controller: how many zones does it control? Are there special features like rain sensors or weather adjustments? Check the wiring — most systems use standard 24-volt wiring, but it’s worth confirming.
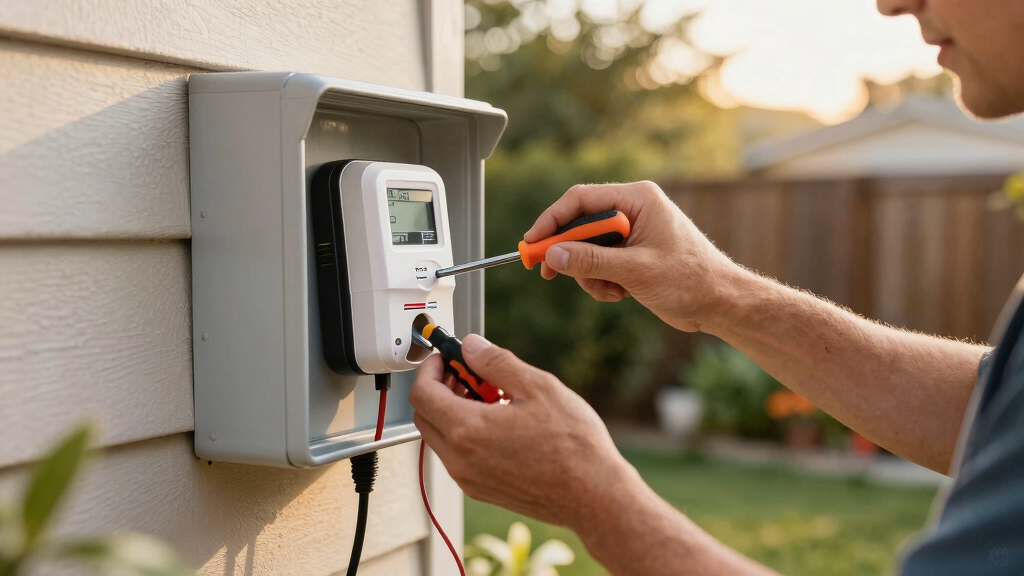
Turn off the power and inspect the wiring at the controller. Label each wire with painter’s tape and a marker, matching it to the zone it controls. Doing this now saves major headaches during reinstallation.

Rachio 3: 8 Zone Smart Sprinkler Controller (Simple Automated Scheduling + Local Weather Intelligence. Save Water w/ Rain, Freeze & Wind Skip), App Enabled, Works w/ Alexa, Fast & Easy Install
- Smart App Control: Easy control via free Rachio app
- Weather-Based Watering: Automatically skips watering during bad weather
- Water Conservation: Adaptive schedules save water year-round
As an affiliate, we earn on qualifying purchases.
As an affiliate, we earn on qualifying purchases.
Pick the Perfect New Controller — What Features Matter Most?
Choosing a new controller isn’t just about price. Think about features that match your yard’s needs. If you want remote control, pick a Wi-Fi enabled model. For water savings, look for weather-based adjustments or rain sensors.
Make sure it’s compatible with your wiring and number of zones. And consider future-proof features like voice control or app integration. A good rule: buy a controller with a few extra zone terminals — just in case.
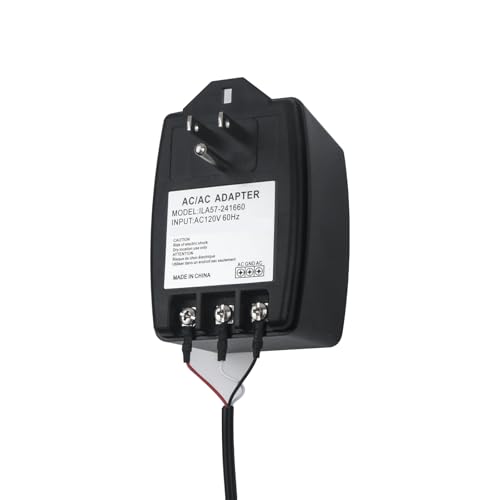
XZGm 24V AC Transformer for Hunter Sprinkler Controller — 526500 635640
- Compatible Hunter Controllers: Fits various Hunter sprinkler models
- Input and Output Specs: 120V AC input, 24V AC output
- Standard Plug-in Design: Easy to replace, no electrician needed
As an affiliate, we earn on qualifying purchases.
As an affiliate, we earn on qualifying purchases.
Prep Your Tools and Get Ready to Remove the Old Controller
Before touching any wires, turn off the power supply at the circuit breaker. Safety first — sparks or shorts are not fun. Gather your tools: a screwdriver, wire strippers, a voltage tester, and some painter’s tape.
Label each wire from the old controller with painter’s tape, matching the zone number or purpose. Take a photo for reference. This makes wiring your new controller much easier.

WiFi Water Timer for Garden Hose,WiFi Sprinkler Controller with 984ft Range
- Long Range Wireless Connectivity: Up to 984ft (300m) stable connection
- Remote App & Voice Control: Control via Smart Life, Tuya, Alexa, Google
- Customizable Watering Schedules: Set start time, duration, and frequency
As an affiliate, we earn on qualifying purchases.
As an affiliate, we earn on qualifying purchases.
Remove the Old Controller Without Causing a Mess
Unscrew the old controller from its mounting box. Carefully disconnect each wire, keeping your labels in place. Use a voltage tester to double-check no power is flowing. Remove the old unit once all wires are safely detached.
If the wiring looks worn or corroded, consider replacing the entire wiring harness or calling a professional. Remember: safety is key.

Outdoor Garden Hose Faucet Timers, Programmable Water Sprinkler Timer with Rain Delay/Manual/Automatic Drip Irrigation and Lawn Watering System for Yard, 1 Outlet
- Easy to Program: Set clock, frequency, duration, and start time
- Multiple Watering Modes: Auto, Manual, Rain Delay modes
- Large LCD Display: Easy to read screen with child lock
As an affiliate, we earn on qualifying purchases.
As an affiliate, we earn on qualifying purchases.
Hook Up the New Controller — Step-by-Step
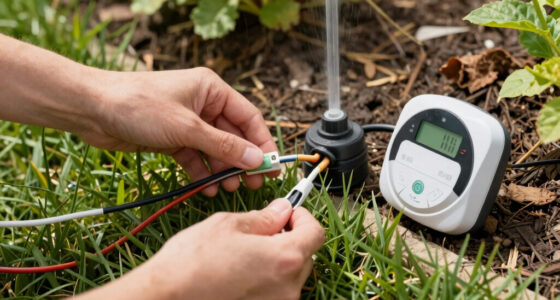
Start by mounting the new controller in the same spot, making sure it’s secure. Refer to your labels or photo for wiring. Connect each wire to the matching terminal: zone wires go to zone terminals, common wire to the common terminal, and so on.
Most controllers have a wiring diagram on the back or inside the cover. Follow this carefully. Once wired, double-check each connection before powering up.
Power Up and Program Your New Controller
Turn the power back on at the breaker. Watch for any blinking lights or error messages. If your controller is smart, connect it to your Wi-Fi network following the manufacturer’s instructions. Download the app if needed.
Set your watering zones, start times, and frequency. For smart controllers, take advantage of weather adjustments and remote scheduling. Test each zone to confirm water flow and coverage.
Test and Tweak — Make Sure Everything Works Perfectly
Run each zone manually and watch your sprinklers water the yard properly. Check for leaks, clogs, or uneven coverage. Adjust the watering times if needed. For smart controllers, monitor the schedule via the app and make tweaks from your couch.
Keep an eye on water bills over the next few weeks. Upgrading to a smart, weather-aware controller can cut water use by up to 30%, according to irrigation data.
Avoid Common Pitfalls — What Can Go Wrong and How to Prevent It
Miswiring is the biggest risk. Double-check every wire before powering up. Don’t force wires into terminals — they should slide in easily. If you notice inconsistent watering or no water at all, recheck your connections.
If your system doesn’t turn on or zones don’t activate, ensure the transformer is providing power and the wiring matches the manual. When in doubt, consult a professional to avoid damaging the system.
Frequently Asked Questions
How do I know if my existing wiring is compatible with a new controller?
Most controllers use standard 24V wiring. Check the specifications on your current system and compare them with the new controller’s requirements. If unsure, consult the manual or a professional for compatibility confirmation.Can I install a new sprinkler controller myself, or should I hire a professional?
Many homeowners can replace a controller with basic tools and some patience. However, if your wiring is complex, or if you’re uncomfortable working with electrical components, hiring an electrician or irrigation specialist is a safe bet.What features should I look for in a new sprinkler controller?
Prioritize Wi-Fi connectivity, weather-based scheduling, zone control, and compatibility with smart home devices. Consider future needs, like expanded zones or voice control, to get the most value.How do I program a new smart sprinkler controller?
Follow the included instructions, typically involving connecting to an app, setting watering times, and enabling weather adjustments. Many models guide you through setup step-by-step, making it straightforward.What should I do if my system doesn’t work after replacement?
Double-check all wiring connections, ensure the transformer is functioning, and verify the controller settings. If problems persist, consult the installation manual or call a professional to troubleshoot wiring or electrical issues.Conclusion
Replacing an old sprinkler controller isn’t just a task — it’s a smart upgrade that makes your yard more efficient and your life easier. With a few simple steps, you can enjoy a lush lawn, conserve water, and control your system from anywhere.
Remember: safety first, take your time, and don’t hesitate to call a pro if wiring gets tricky. Your garden will thank you, and so will your water bill.
Labor Day sales Picks
labor day deals
As an affiliate, we earn on qualifying purchases.