
TL;DR

Get home appliances delivered free with Prime
- Fast, free delivery on millions of items
- Prime Video, Amazon Music and more included
- Member-only deals all year
Drip irrigation timers automate watering, saving water and effort. This guide covers choosing the right timer, simple installation steps, and maintenance tips for beginners.
Imagine your garden thriving with just the right amount of water, every day, without you lifting a finger. That’s the promise of a drip irrigation timer. For homeowners tired of inconsistent watering or wasting water, setting up a timer is the game changer. It’s about precision, ease, and saving you money in the long run.
In this guide, you’ll learn how to pick the right timer, install it step-by-step, and keep it running smoothly. Whether you have a small vegetable patch or a sprawling flower garden, a drip timer turns watering into a simple, automated routine. Ready to make your garden smarter and more efficient? Let’s get started.
Choose a timer with multiple zones and simple programmability for easy setup.
Installation is straightforward: connect, program, test—done in 15 minutes.
Regular maintenance like cleaning filters and inspecting emitters keeps your system efficient.
Smart timers add convenience with remote control but are pricier and more complex.
Proper timing can save up to 50% of water, making drip systems both eco-friendly and economical.
What a drip irrigation timer does for your garden
Think of a drip irrigation timer as the brain behind your watering system. It controls when and how long your plants get water, ensuring they receive a steady, gentle flow. This means no more forgetting to water or overwatering during those scorching summer days.
For example, if you set your timer for 30 minutes every morning, your plants soak up just enough moisture to stay healthy. It’s like having a dedicated gardener who never sleeps—precise, reliable, and always attentive to your garden’s needs.
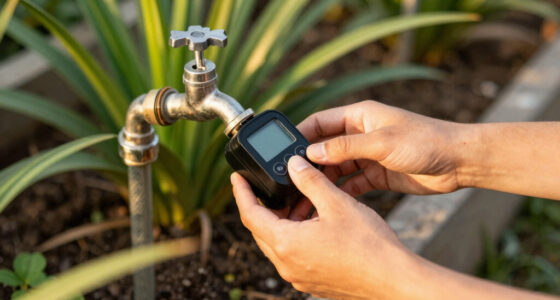
drip irrigation timer with multiple zones
As an affiliate, we earn on qualifying purchases.
As an affiliate, we earn on qualifying purchases.
Pick the perfect drip timer: 4 must-know features for beginners
Choosing the right timer is like selecting the perfect watering tool—fit for your garden’s size and your lifestyle. Here’s what matters most:
- Number of zones: Can it control multiple garden sections? This is crucial if your garden has different plant types or areas requiring distinct watering schedules. A single-zone timer limits flexibility, potentially leading to over- or under-watering some sections. Multi-zone timers allow you to customize watering for diverse needs, improving plant health and water efficiency.
- Programmability: How flexible is it? Advanced timers let you set different schedules for different days, adjusting for weather patterns or plant growth stages. This adaptability helps prevent unnecessary watering during rain and ensures plants get enough moisture during dry spells, ultimately conserving water and supporting healthier growth.
- Power source: Battery, solar, or plug-in? While battery-powered timers are straightforward and portable, solar timers can reduce ongoing costs, especially if you have ample sunlight. Consider your garden’s location and your preference for maintenance—solar timers often require less frequent intervention but may be less reliable in shaded areas.
- Ease of use: Is the interface straightforward? Intuitive controls, large buttons, or touchscreens reduce setup errors and make adjustments simple, especially for beginners. A complicated interface can lead to misprogramming, resulting in over- or under-watering, which wastes resources and risks plant health.
For example, a beginner might prioritize a battery-powered digital timer with multiple zones and a clear LCD display. This setup provides enough flexibility and ease of use to learn and adapt as you become more comfortable with watering systems.
As an affiliate, we earn on qualifying purchases.
Step-by-step: How to install your drip timer without a headache
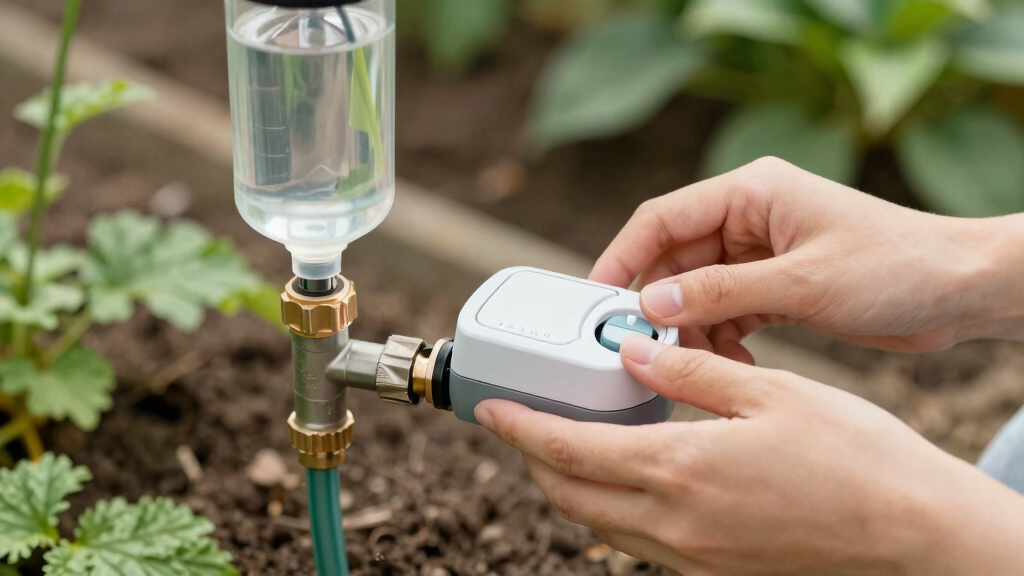
Installing a drip irrigation timer is easier than you think—if you follow this simple process:
- Turn off your water supply: Safety first. Shut off the outdoor faucet to prevent leaks and water wastage during installation.
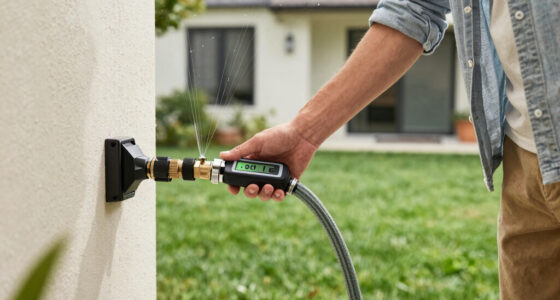
- Connect the timer to your faucet: Screw the timer onto the outdoor spigot firmly, using plumber’s tape if needed to prevent leaks. Ensuring a tight connection avoids water loss and potential damage to the timer.
- Attach the drip hoses: Connect your drip lines or emitters to the timer outlets, making sure they’re snug but not forced. Proper attachment prevents leaks and ensures even water distribution.
- Program the timer: Set your desired watering days, start times, and durations. For beginners, start with a simple schedule—perhaps early mornings for 20-30 minutes—and observe how your garden responds.
- Turn the water back on: Test your system. Check for leaks, ensure water flows evenly through all emitters, and adjust your settings as needed. Regular testing helps catch issues early and fine-tune your watering schedule for optimal results.
For instance, if you have a vegetable patch, setting the timer to water early mornings for 20–30 minutes encourages healthy growth and reduces evaporation. Over time, adjust based on plant response and weather conditions to optimize water use and plant health.
As an affiliate, we earn on qualifying purchases.
Compare: Mechanical vs. Digital vs. Smart timers
| Feature | Mechanical | Digital/Electronic | Smart |
|---|---|---|---|
| Ease of use | Simple dial, no programming | Programmable, some with LCD screens | Remote control via apps, voice commands |
| Features | Limited, basic timing | Multiple schedules, timers, rain delay | Weather adjustments, soil sensors, data logging |
| Price range | Lower cost, fewer bells and whistles | Moderate, more features | Higher, with connectivity |
For beginners, digital timers strike a balance—easy setup with useful programmable features. Smart timers are great if you love tech, but they come with a steeper learning curve and higher price. Consider your comfort with technology and your specific watering needs to choose the right type for your garden. If you want straightforward control without fuss, a digital timer provides versatility and reliability. If you’re tech-savvy and want to optimize watering based on weather or soil conditions, a smart timer can be a worthwhile investment that enhances your garden’s health and efficiency.
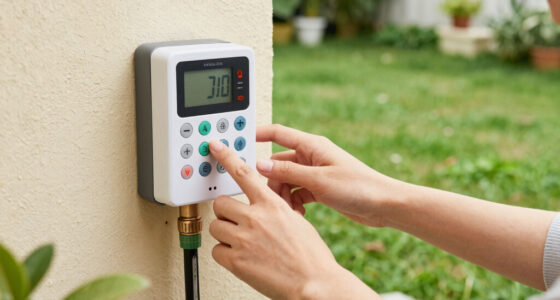
programmable garden irrigation timer
As an affiliate, we earn on qualifying purchases.
As an affiliate, we earn on qualifying purchases.
Keep your drip system happy: Maintenance tips for beginners
Even the best timers need regular TLC to stay effective. Here’s what to do:
- Check filters: Clogged filters block water flow, leading to uneven watering or damage to emitters. Clean or replace filters every few months, especially if you notice reduced flow or debris in your water.
- Inspect emitters: Look for clogs or leaks that can disrupt watering uniformity. Clear blockages with gentle flushing or replace damaged emitters promptly to maintain consistent moisture delivery.
- Test your schedule: Run the system monthly to verify operation. Adjust timing or duration based on seasonal changes or plant needs. Regular testing prevents issues from escalating and ensures your plants always get the right amount of water.
- Replace batteries or recharge solar panels: Depending on your timer’s power source, keep it powered for continuous operation. Dead batteries or unclean solar panels can cause malfunctions, so routine checks help avoid watering gaps.
For example, after a rainy week, check if your soil remains moist. If it’s overly wet, reduce watering duration or frequency. Proper maintenance not only prolongs the life of your system but also ensures your garden receives consistent, efficient watering, saving water and supporting plant health.
Why smart timers might be worth the extra step
Smart drip timers offer remote control and automation, making water management effortless. If you often forget or travel, they’re a real plus.
Imagine your garden getting the right amount of water even if you’re away or busy. Weather sensors and app alerts prevent overwatering, saving water and money.
However, they come at a higher cost and require Wi-Fi. For tech-savvy gardeners, they turn watering into a set-it-and-forget-it chore. While the initial investment might be higher, the long-term savings in water and time can be significant, especially for larger gardens or busy homeowners. Weigh your comfort with technology and your budget before opting for a smart system, but remember, the convenience and data-driven adjustments can greatly enhance your garden’s health and sustainability.
Frequently Asked Questions
How do I choose the right drip irrigation timer for my garden?
Consider your garden’s size, number of sections, and features you want. For beginners, a digital timer with multiple zones and easy programming is a safe bet. Match the timer’s capacity with your needs to ensure efficient watering.
How difficult is it to install a drip irrigation timer?
Most timers are designed for easy setup with basic plumbing skills. Just connect to your outdoor faucet, attach hoses, and program your schedule. Following the manufacturer’s instructions makes it straightforward—usually takes about 15 minutes.
Can I use a drip irrigation timer for potted plants or containers?
Yes, but check that the timer and emitters are compatible with smaller setups. Use low-pressure emitters and adjust watering durations accordingly. Proper pressure and emitter choice are key to avoid over- or underwatering your containers.
What maintenance does a drip irrigation timer need?
Regularly check filters for clogs, flush or replace emitters if blocked, and keep batteries charged or solar panels clean. Running monthly tests helps catch problems early and keeps your system running smoothly.
Are smart timers worth the extra cost?
If you value remote control, automation, and weather-based adjustments, smart timers can save you time and water. They’re especially handy if you’re often away or want detailed control over your garden’s watering schedule.
Conclusion
Setting up a drip irrigation timer isn’t just about watering—it’s about giving your plants what they need, when they need it, with less fuss and waste. A little investment in a good timer now pays off with healthier plants, lower water bills, and more free time.
Picture your garden thriving, watered perfectly, while you relax. That’s the power of a well-chosen, properly installed drip timer—simple, smart, and satisfying.
NFL season / tailgating Picks
team gear
As an affiliate, we earn on qualifying purchases.