
TL;DR
Listen free for 30 days with Audible
Thousands of audiobooks and originals — cancel anytime.
Start your free trialAs an affiliate, we earn on qualifying purchases.
Setting timers for outdoor trim lights automates your decor, saves energy, and enhances security. Choose the right timer type and customize schedules for hassle-free outdoor lighting.
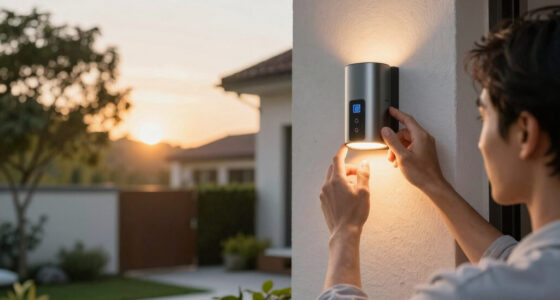
Imagine coming home on a chilly evening, and your outdoor trim lights turn on just as the sun dips below the horizon. No manual switch, no wasted energy. That’s the power of well-set timers for outdoor lights. They make your home look inviting, save you money, and add an extra layer of security.
But setting those timers isn’t just about flicking a switch. It’s about understanding your lights, your schedule, and the technology that makes automation seamless. In this guide, you’ll discover how to choose the right timer, set it up correctly, and get the most out of your outdoor lighting system.
Choose the timer type based on your control needs—mechanical for simplicity, digital for flexibility, smart for automation.
Program your outdoor trim lights to turn on at sunset and off after a set period to save energy and enhance security.
Weatherproof your timer by selecting outdoor-rated models and installing in sheltered locations.
Use smart timers with sensors and automation features to adapt to seasonal changes without manual reprogramming.
Always turn off power before installation and consider professional help for permanent setups.
Set Outdoor Trim Lights Once. Let the Schedule Do the Work.
Smart timer settings automate curb appeal, reduce wasted electricity, and make your home look occupied after dark. The right setup balances sunset timing, weather protection, safety, and seasonal flexibility.
Key Insight
Using outdoor timers can reduce energy consumption by up to 30% by preventing unnecessary lighting, especially with programmable or smart timers that adapt to natural light patterns.
Turns lights on when visibility and security value peak.
Choose outdoor-rated timers and sheltered placement.
Potential reduction from avoiding unnecessary runtime.
Mechanical, digital, and smart control paths.
Choose schedule, program timer, test and adjust.
Reliable lighting without daily manual switching.
Pick the Control Level That Matches Your Routine
Mechanical timers are simple and dependable, digital timers add multiple schedules, and smart timers bring app control, sensors, geofencing, and seasonal automation. The best choice depends on how often your routine changes.
Simple Dial Control
Best for consistent daily routines, such as lights on at 6 PM and off at 11 PM. Easy to use, but limited when sunset shifts.
Programmable Precision
Great for weekday, weekend, holiday, and daylight saving adjustments. More powerful, but requires careful programming.
Adaptive Automation
Ideal for app control, sunset and sunrise syncing, geofencing, and smart home integration. Highest flexibility and cost.
How to Set Your Outdoor Timer in 3 Simple Steps
A good schedule should make the home look active after sunset without keeping lights on all night. Program around natural light, confirm the current time, then test the system before relying on it.
Choose Your Schedule
Use sunset, daily routine, or special events as the trigger. Security improves when lighting patterns feel consistent and intentional.
Program the Timer
Set the current time, enter on and off windows, and enable sunrise or sunset modes where available to reduce seasonal edits.
Test and Adjust
Verify activation time, check daylight saving changes, and update winter or summer settings when natural light shifts.
On: 6:30 PM after sunset. Off: 11:30 PM after evening activity slows.
On: 30 minutes before sunset. Off: after midnight or when geofencing detects departure.
Compare Timer Types Before You Buy
Permanent outdoor trim lights need more than an on/off switch. Compare ease, flexibility, weather readiness, and automation before choosing the timer that will run your system every evening.
| Feature | Mechanical Timer | Digital Timer | Smart Timer |
|---|---|---|---|
| Ease of Use | ✓ Simple dial, beginner friendly | ~ Requires programming | ✓ App-based control |
| Flexibility | ✗ Usually one schedule | ✓ Multiple daily schedules | ✓ Remote edits and automation |
| Seasonal Adjustment | ✗ Manual changes needed | ~ Programmable if configured | ✓ Sunset and sunrise sync |
| Weather Resistance | ~ Check outdoor rating | ✓ Outdoor models available | ✓ Weatherproof models available |
| Cost | ✓ Lower | ~ Moderate | ✗ Higher upfront cost |
Protect the Timer Before You Trust the Schedule
Outdoor lighting automation only works when the timer is rated, sheltered, grounded, and installed safely. Permanent setups deserve extra care because exposure, moisture, and wattage load all matter.
Use Outdoor-Rated Gear
Look for IP44 or higher, a weatherproof cover, grounded outlets, and outdoor-rated extension cords when cords are necessary.
Shelter the Connection
Install the timer away from direct rain or snow, ideally inside a waterproof box or covered porch outlet enclosure.
Cut Power First
Always turn off power before installation. For hardwired or permanent systems, use a licensed electrician.
Match Load and Compatibility
Confirm the timer can handle your trim light wattage and supports the number of channels or strings you want to control.
Smart Scheduling Cuts Waste Without Cutting Ambience
The biggest savings come from avoiding over-lighting. Sunset sensors, geofencing, and off-times after midnight keep lights useful when they matter and quiet when they do not.
Sunset
Lights activate as natural visibility drops.
Security
Consistent patterns make the home appear occupied.
Off-Time
Late-night shutoff prevents unnecessary runtime.
Season
Smart modes adjust as sunset moves through the year.
Savings
Shorter, smarter operation protects bulbs and bills.
Pick the Perfect Timer Type for Your Outdoor Lights
The first step is choosing the right timer. Your options include mechanical timers, digital timers, and smart timers. Each has its perks and quirks.
Mechanical timers are straightforward—think of a big dial and manual settings. They’re reliable but limited to one schedule. Imagine a simple dial that turns your lights on at 6 PM and off at 11 PM, every day. Their simplicity makes them less prone to technical issues, but they lack flexibility, which can be a tradeoff if your schedule varies. They’re best for basic, consistent routines where seasonal adjustments are minimal.
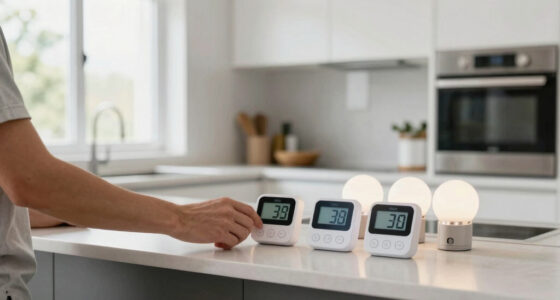
Digital timers are more precise and versatile. They allow you to program different on/off times for weekdays and weekends, with multiple settings. This flexibility means you can tailor lighting schedules to your lifestyle, such as dimming lights during late-night hours or adjusting for daylight saving time. However, their complexity can sometimes lead to a steeper learning curve, and incorrect programming might cause your lights to behave unexpectedly. Their accuracy and customization make them suitable for homeowners seeking more control.
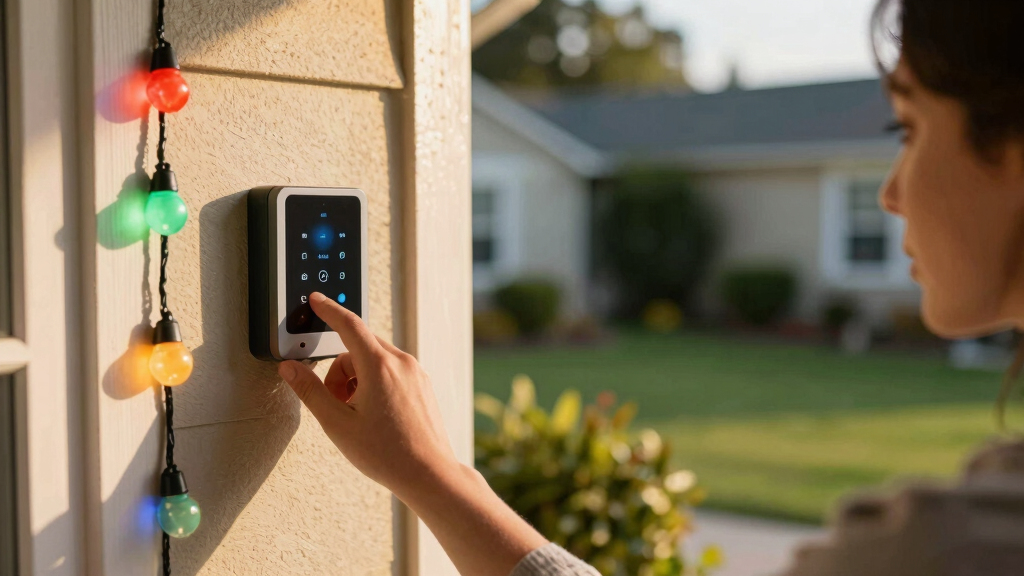
Finally, smart timers connect to Wi-Fi or Bluetooth, offering remote control via smartphone apps. They can integrate with sunset/sunrise sensors, geofencing, and other smart home devices. This level of automation can significantly enhance convenience, especially if your routines change frequently or if you’re away often. The tradeoff is the higher cost and reliance on internet connectivity, which, if disrupted, might affect operation. Smart timers are ideal for tech-savvy users who want the ultimate control and flexibility.

BN-LINK Outdoor 7-Day Programmable Timer Outlet, 2 Outlets
- Programmable Scheduling: Up to 8 on/off programs for two outlets
- Easy Setup: Select individual or preset days, DST mode
- Weatherproof Design: Durable, waterproof cover for outdoor use
As an affiliate, we earn on qualifying purchases.
As an affiliate, we earn on qualifying purchases.
How to Set Your Outdoor Timer in 3 Simple Steps
- Choose your schedule. Decide when your lights should turn on and off—based on sunset, your daily routine, or specific events. Recognizing why this matters is key: a well-timed schedule not only saves energy but also enhances security by ensuring your home appears occupied during absences. For instance, lights turning on at sunset mimic natural activity patterns, deterring potential intruders. Conversely, inconsistent timing can make your home an easy target or waste energy if lights stay on unnecessarily.
- Program the timer. Follow the device’s instructions—set the current time, then input your on/off times. For smart timers, use the app to create schedules, often with a few taps. It’s important to understand that incorrect programming, such as setting wrong times or forgetting seasonal adjustments, can lead to lighting mismatches, reducing security or wasting energy. Take the time to familiarize yourself with features like seasonal settings or sunrise/sunset modes, which help maintain consistent lighting patterns throughout the year, avoiding manual reprogramming and ensuring your automation remains effective.
- Test and adjust. Turn on your lights and check if they activate at the right time. Adjust the settings if needed, especially as seasons change or if daylight saving time kicks in. Regular testing ensures your lighting schedule aligns with natural light conditions, maximizing energy savings and security. For example, if your lights turn on too early or too late, it may signal an incorrect timer setting or a need to update for seasonal changes. Consistent adjustments prevent gaps in your security coverage and keep your outdoor ambiance consistent.
For example, you might program your outdoor trim lights to turn on at 6:30 PM in winter and off at 11:30 PM, then tweak for summer when sunset is later. Understanding why precise timing matters helps you avoid common pitfalls like over-lighting or under-lighting, which can both impact security and energy efficiency.

BN-LINK Outdoor 24-Hour Mechanical Timer Outlet, 2 Grounded Outlets
- Mechanical 48-Pin Control: Sets 30-minute intervals without buttons
- Waterproof Outdoor Design: Rainproof casing for outdoor use
- Dual Grounded Outlets: Controls two devices simultaneously
As an affiliate, we earn on qualifying purchases.
As an affiliate, we earn on qualifying purchases.
Compare Timer Types Side-by-Side to Pick the Best
| Feature | Mechanical Timer | Digital Timer | Smart Timer |
|---|---|---|---|
| Ease of Use | Simple dial, easy for beginners | Requires programming, more flexible | Control via app, most advanced |
| Flexibility | Limited to one schedule | Multiple schedules, seasonal adjustments | Customizable, remote control |
| Weather Resistance | Usually durable, but check model | Designed for outdoor use | Depends on device, but generally weatherproof |
| Cost | Lower | Moderate | Higher |

TiFFCOFiO Outdoor Timer Outlet, Dusk to Dawn Light Sensor Timer Weatherproof, 2 Grounded Outlets for Halloween and Christmas Lights, 15A 1/2HP, ETL Listed
- Multiple Timer Functions: 8 countdown and 2 switch modes
- Photocell Light Sensor: Controls outdoor lighting automatically
- Easy to Use: Simple dial for quick setup
As an affiliate, we earn on qualifying purchases.
As an affiliate, we earn on qualifying purchases.
How to Ensure Your Outdoor Timer Is Weatherproof and Safe
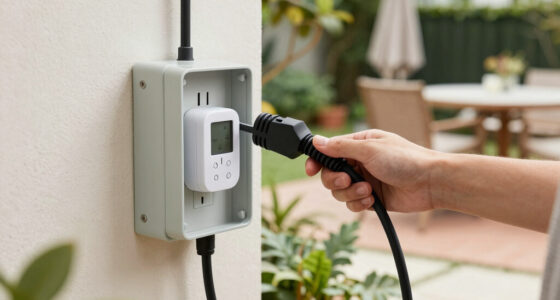
Weatherproofing is key. Make sure your timer is rated for outdoor use—look for IP (Ingress Protection) ratings like IP44 or higher. Install the timer in a sheltered spot, away from direct rain or snow.
Always turn off power before installation. Use grounded outlets and outdoor-rated extension cords if needed. If you’re unsure about wiring or safety, hire a licensed electrician—especially for permanent installations.
For example, you might install a waterproof box on your porch with a timer inside, protected by a weatherproof cover. That way, rain won’t cause shorts or corrosion.
Choosing the right weatherproof timer isn’t just about durability; it’s about ensuring safety and longevity of your outdoor lighting system. A poorly rated timer exposed to the elements can lead to shorts, corrosion, or even electrical fires. Proper installation in a sheltered, waterproof enclosure minimizes these risks and protects your investment.
BN-LINK Outdoor 24-Hour Mechanical Timer Outlet, 2 Grounded Outlets
- Mechanical 48-Pin Control: Sets 30-minute intervals without buttons
- Waterproof Outdoor Design: Rainproof casing for outdoor use
- Dual Grounded Outlets: Controls two devices simultaneously
As an affiliate, we earn on qualifying purchases.
As an affiliate, we earn on qualifying purchases.
Maximize Energy Savings with Smart Scheduling Tricks
Smart timers can do more than just turn lights on and off. They can learn your habits and adjust schedules automatically. For instance, a smart timer might turn your lights on 30 minutes before sunset and off after midnight, based on your preferences. Understanding this adaptive behavior is crucial: it ensures your lighting remains efficient and responsive to natural light changes, preventing waste or insufficient security lighting.
Use features like sunset/sunrise sensors or geofencing—your lights can turn on when you arrive home and turn off when you leave. This automation minimizes waste, keeps your home safe, and extends the lifespan of your bulbs. Recognizing the implications, these features help avoid the common mistake of over-lighting during times when natural light suffices, or under-lighting when it’s needed most.
Imagine arriving home just as the porch lights glow softly, thanks to your timer. It’s like having a personal lighting butler. Properly leveraging these features ensures your outdoor lighting system is both energy-efficient and secure, without constant manual adjustments.
Adjusting for Seasonal Changes and Daylight Saving
Setting your timer once isn’t enough. As seasons shift, sunset times change, and your lighting schedule needs to adapt accordingly. Manual timers require you to reprogram, which can be tedious and prone to oversight, potentially leading to lights turning on too early or too late—either wasting energy or compromising security. Smart timers, on the other hand, can automatically adjust schedules based on geographic location and seasonal data, ensuring consistent lighting without manual intervention. This adaptability is vital for maintaining energy efficiency and security year-round.
If you’re using a digital timer, set it to follow sunset times if the feature is available—this ensures your lights sync with natural lighting conditions. For mechanical timers, manual adjustments are necessary, which means periodically reprogramming to match seasonal sunset shifts. Recognizing the importance of these adjustments helps you avoid common pitfalls like lights being on during daylight hours or not turning on at dusk, both of which can undermine your security and energy goals.
Pro tip: Set a reminder to check and tweak your timer settings when daylight saving time begins or ends. This simple step ensures your outdoor lighting remains aligned with natural light patterns, optimizing energy use and security without the need for constant manual adjustments.
Frequently Asked Questions
How do I set the timer for outdoor trim lights?
Start by choosing the right timer type. Follow the device’s instructions to set the current time, then input your desired on/off schedule. For smart timers, use the app to create routines based on sunset or your routines. Always test after setup to ensure proper operation.What is the best type of timer for outdoor holiday lights?
Smart timers are ideal because they can automatically adjust to sunset times and be controlled remotely. Digital timers also work well if you want more precise scheduling without the complexity of smart features. Mechanical timers are simple but less flexible.Can I control outdoor timers remotely?
Yes, especially with smart timers connected via Wi-Fi or Bluetooth. You can turn lights on or off, adjust schedules, or override settings from anywhere using your smartphone app. This makes managing outdoor lighting effortless.How do I ensure my outdoor timer is weatherproof?
Choose a timer with an IP rating of at least IP44 or higher. Install it in a sheltered spot, like under a porch roof. Use outdoor-rated extension cords and protective covers. When in doubt, hire a professional for permanent, safe installation.What are the energy-saving benefits of timers?
Timers prevent your outdoor lights from staying on longer than needed, reducing electricity use by up to 30%. They also help avoid forgotten lights, which can waste energy and shorten bulb lifespan. Automation ensures lights run only when necessary.Conclusion
Proper timer settings transform outdoor lighting from a chore into a convenience. They keep your home inviting, secure, and energy-efficient without you lifting a finger after setup. Think of your outdoor lights as silent, smart guardians—ready to shine when you need them, and quietly idle when you don’t.
So, pick your timers wisely, set them thoughtfully, and enjoy the glow of a smarter, safer home. Your outdoor space will thank you—bright, welcoming, and perfectly timed.
Labor Day sales Picks
labor day deals
As an affiliate, we earn on qualifying purchases.